13 FAQs on AutoCAD Sheet Set Manager
AutoCAD Sheet Set Manager (SSM) is a great tool to help you manage, organize, and publish your drawing sheets. It’s the complete solution for working with multiple drawings in a project for architects, engineers, surveyors, and construction professionals. Sheet Set Manager treats your collection of drawings as a set rather than individual files, so it’s much easier to maintain consistency and coordinate changes across your project. As a Design Civil Engineer, I love Sheet Set Manager because it automates my documentation workflow by populating title block data across multiple sheets and gives me powerful batch plotting capabilities.
How to Create a Sheet Set using an Example Sheet Set?
Below are steps to create an Example Sheet Set:
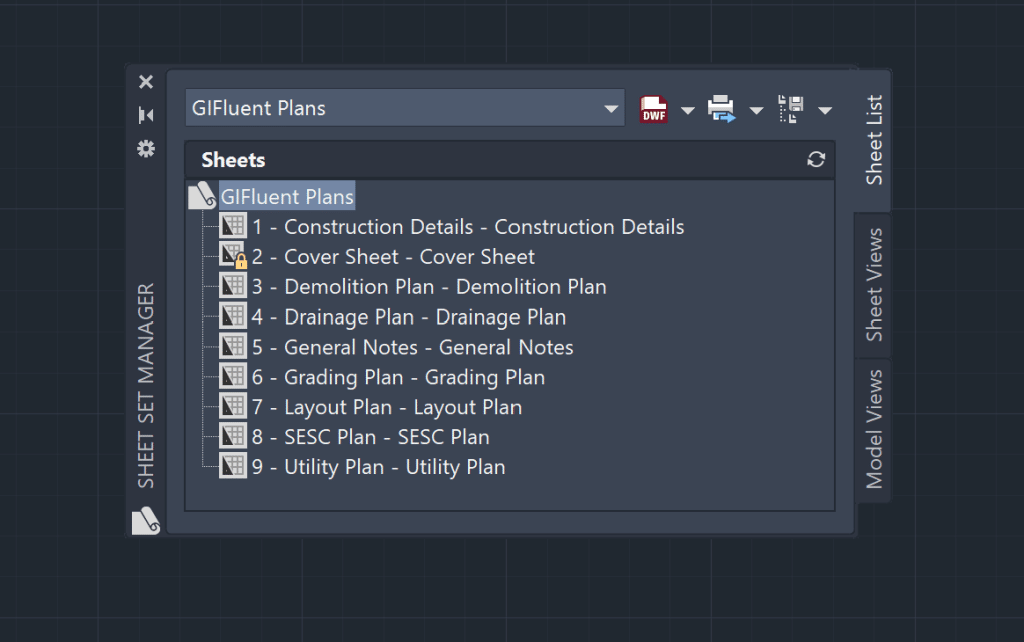
- Type in SSM or SHEETSET in the command line. The Sheet Set Manager will open up.
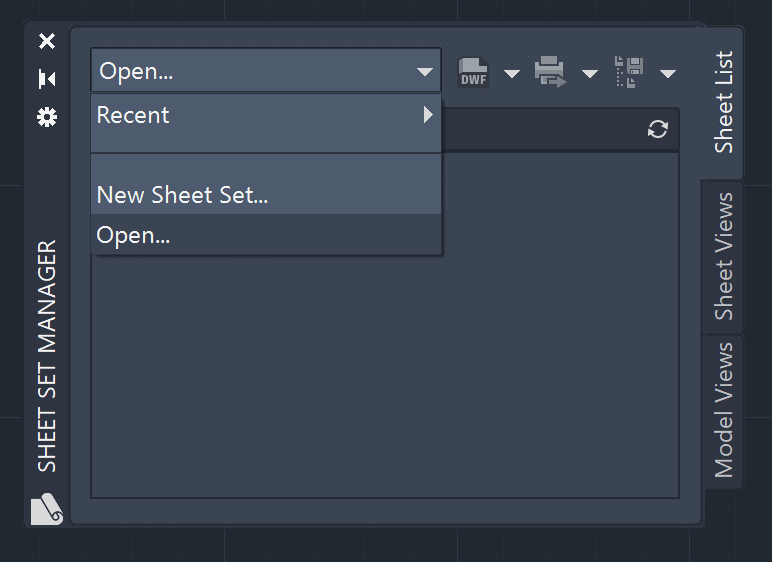
- Click on the down arrow next to the Open option, and select New Sheet Set option. The Create Sheet Set – Begin Dialog Box will open up.
- Select the An example sheet set option and hit next.
- By default you will have seven different example sheet sets to choose from. In this example, we will choose the Civil Imperial Sheet Set and hit Next. (Note: You can also Browse an Example Sheet Set from your local drive.)
- Now you will need to enter or choose Sheet Set Details. Give a name to your Sheet Set, provide a description (optional), and file path to store your sheet. Here you can can also check the Create a folder hierarchy based on subsets, and provide Sheet Set Properties. Once you have everything in, hit next.
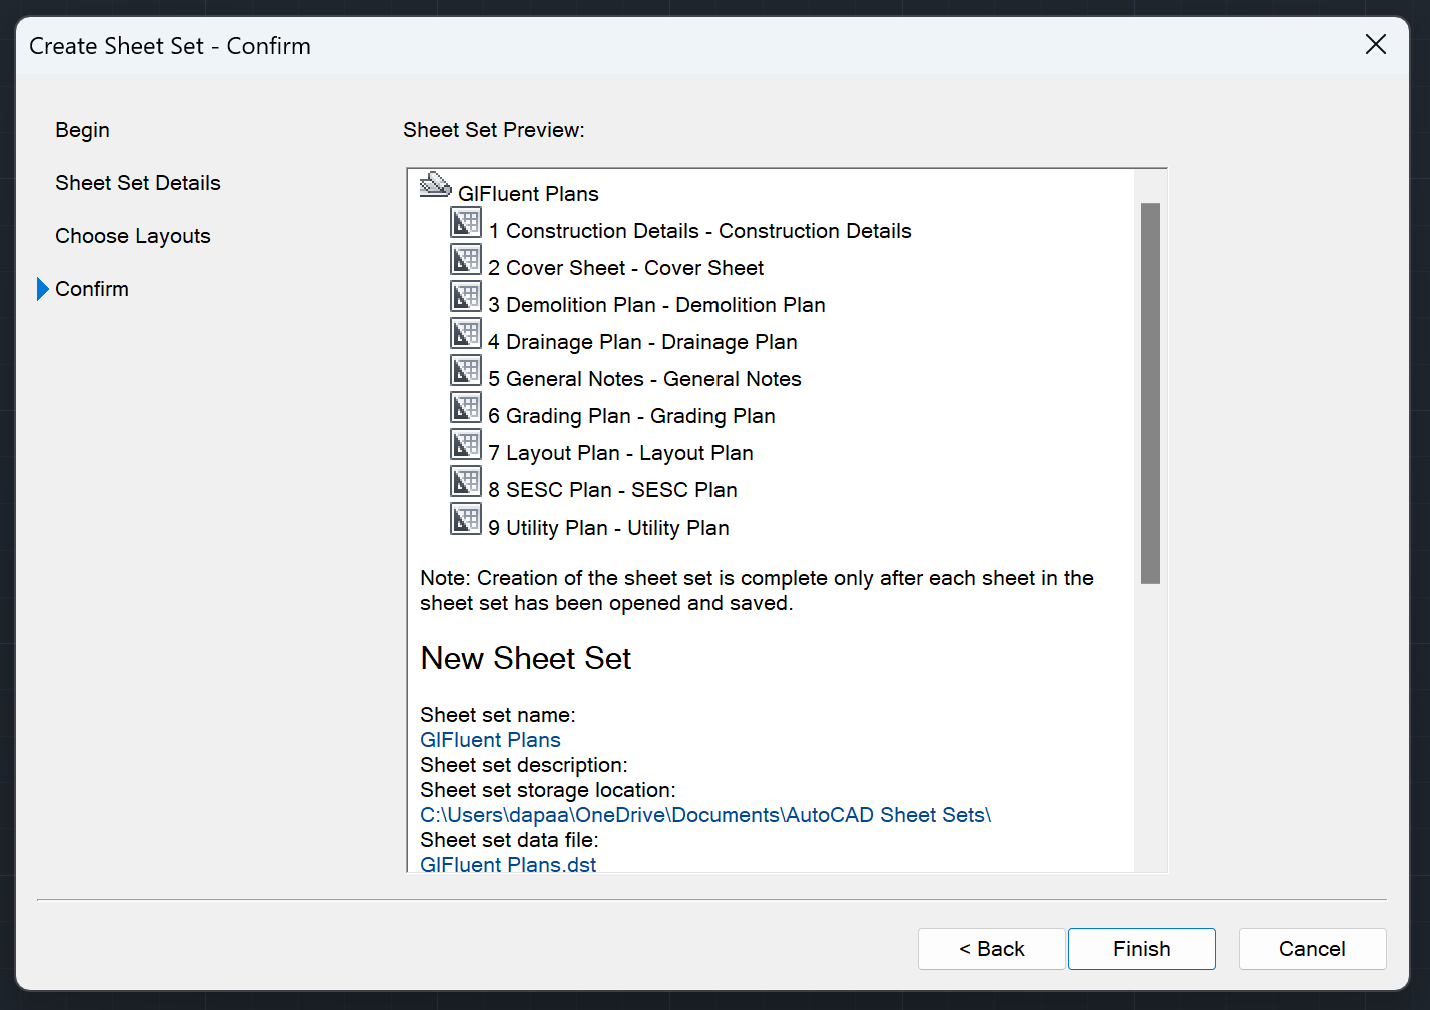
- You can preview the Sheet Set details here, and hit finish to confirm. Sheet Set Manager is now created!
How to Create a Sheet Set using Existing Drawings?
Below are steps to create a Sheet Set using Existing Drawings:
- Type in SSM or SHEETSET in the command line. The Sheet Set Manager will open up.
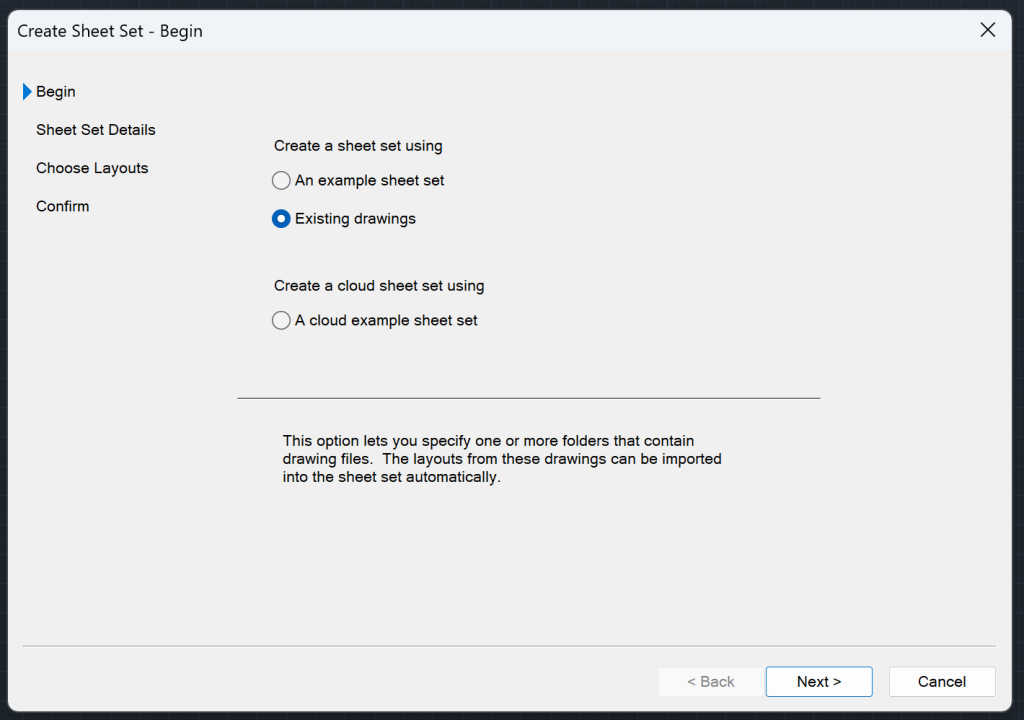
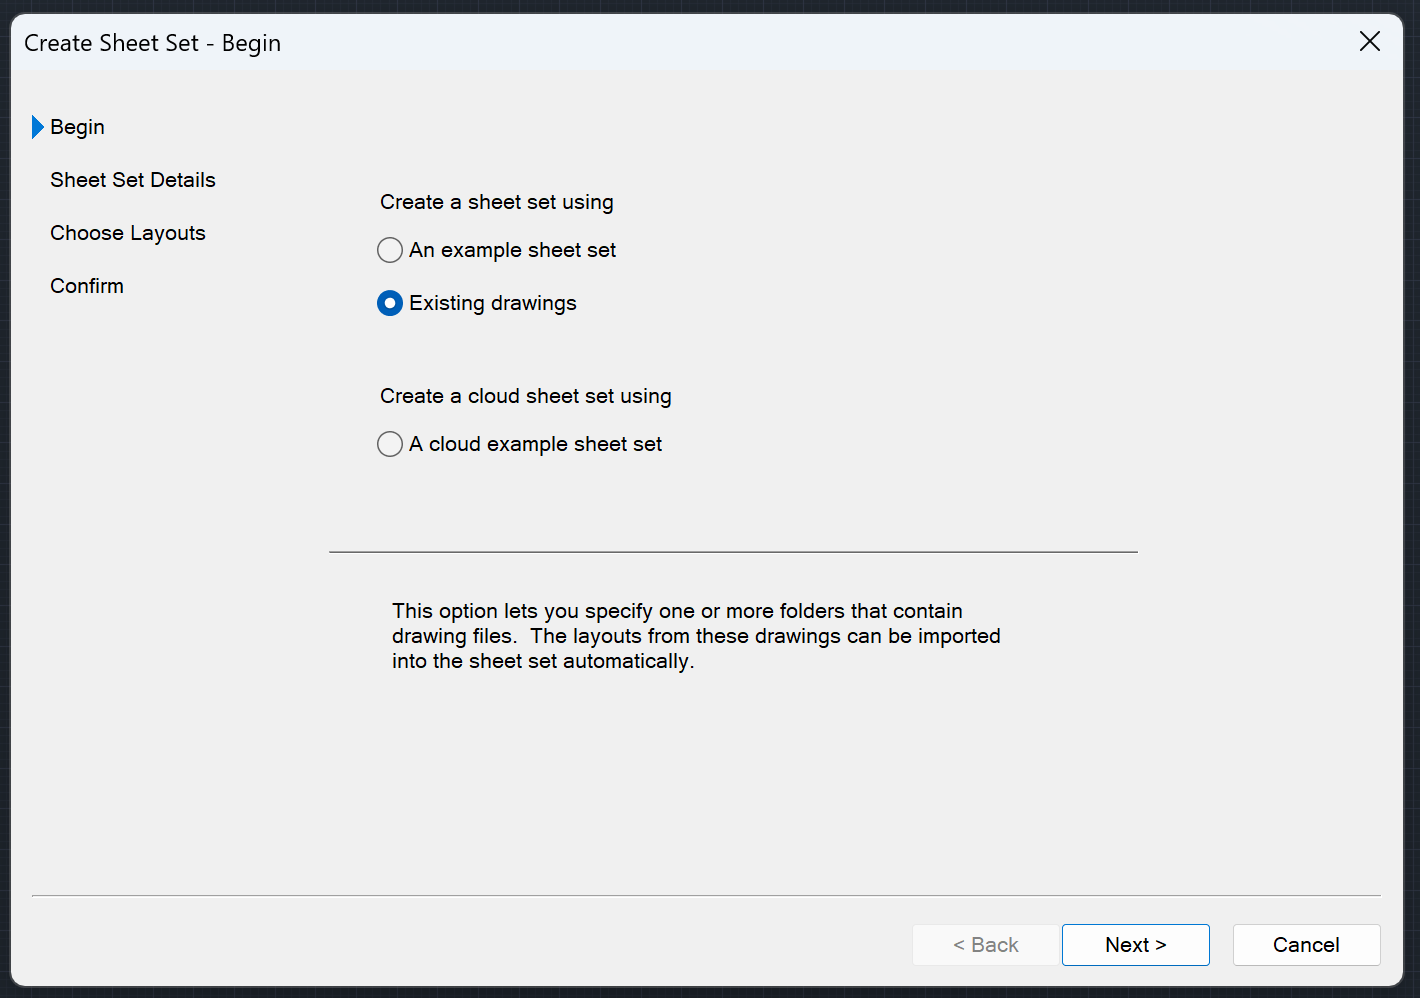
- Click on the down arrow next to the Open option, and select New Sheet Set option. The Create Sheet Set – Begin Dialog Box will open up.
- Select the Existing Drawings option and hit Next.
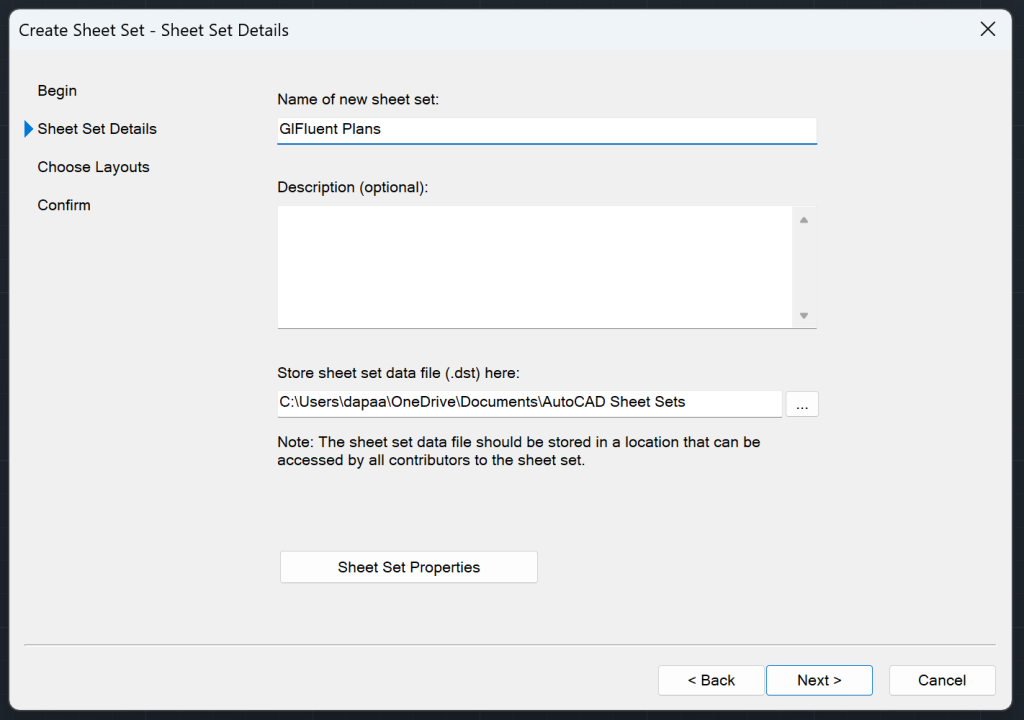
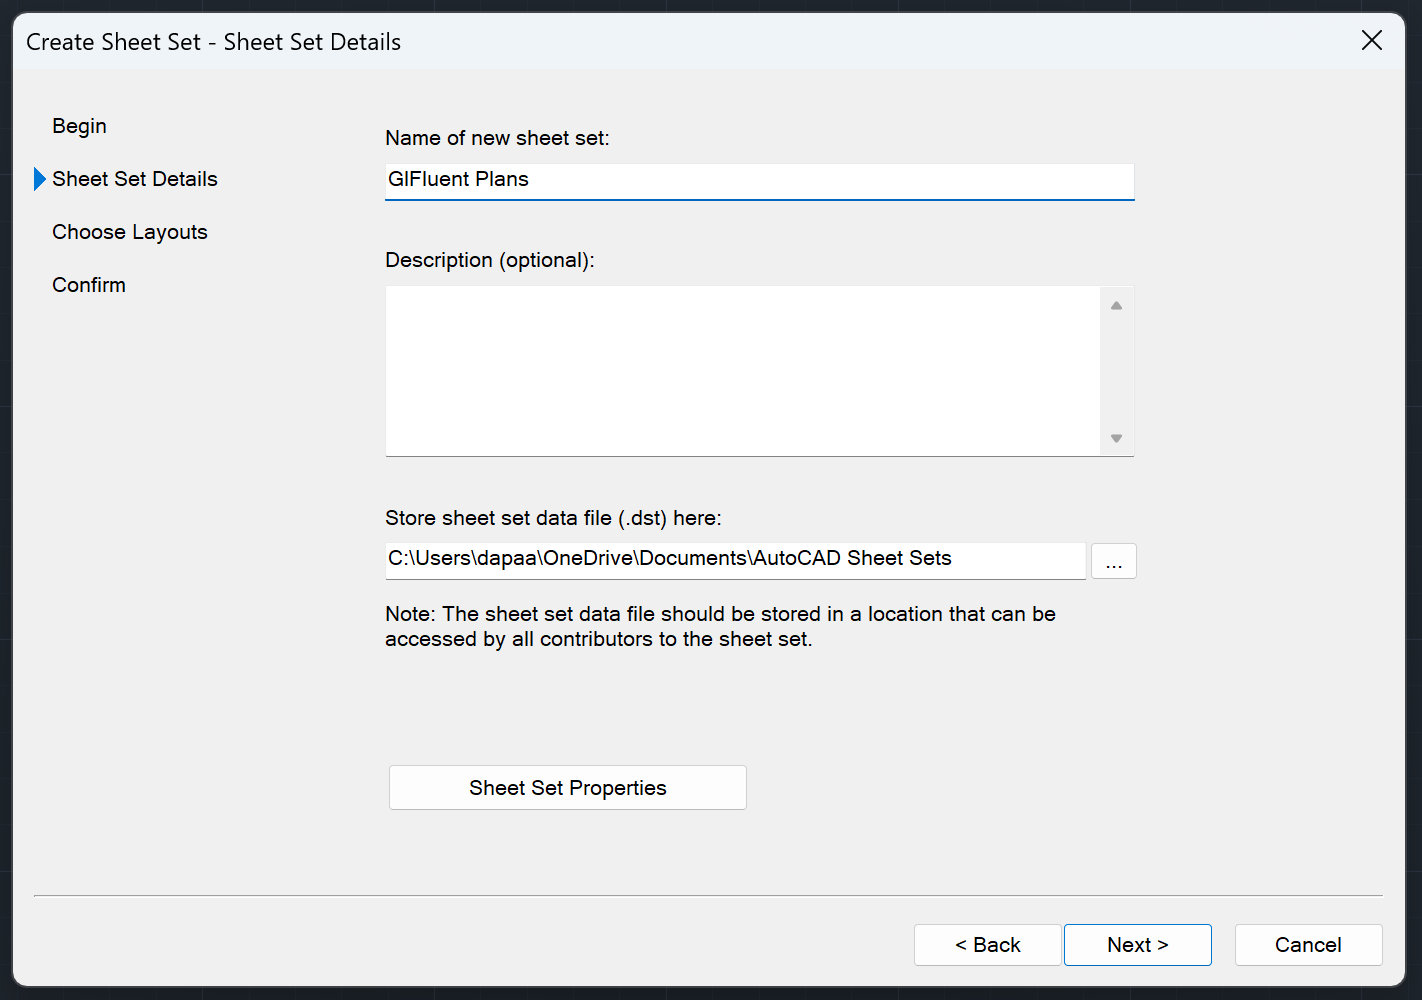
- Now you will need to enter or choose Sheet Set Details. Give a name to your Sheet Set, provide a description (optional), and file path to store your sheet. Here you can also provide Sheet Set Properties. Once you have everything in, hit next.
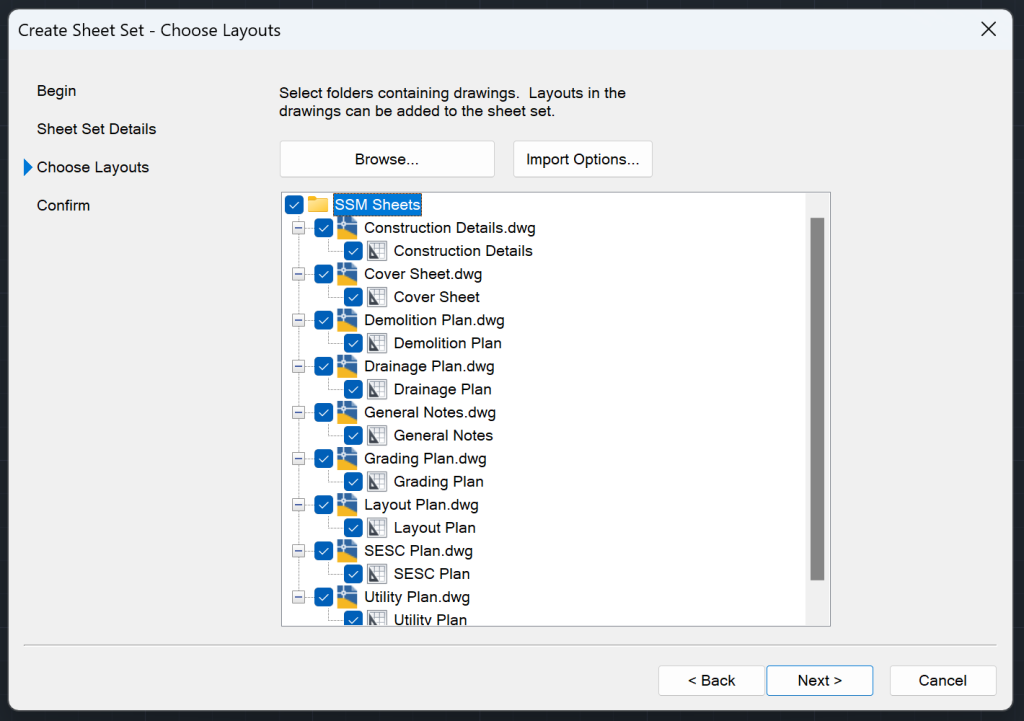
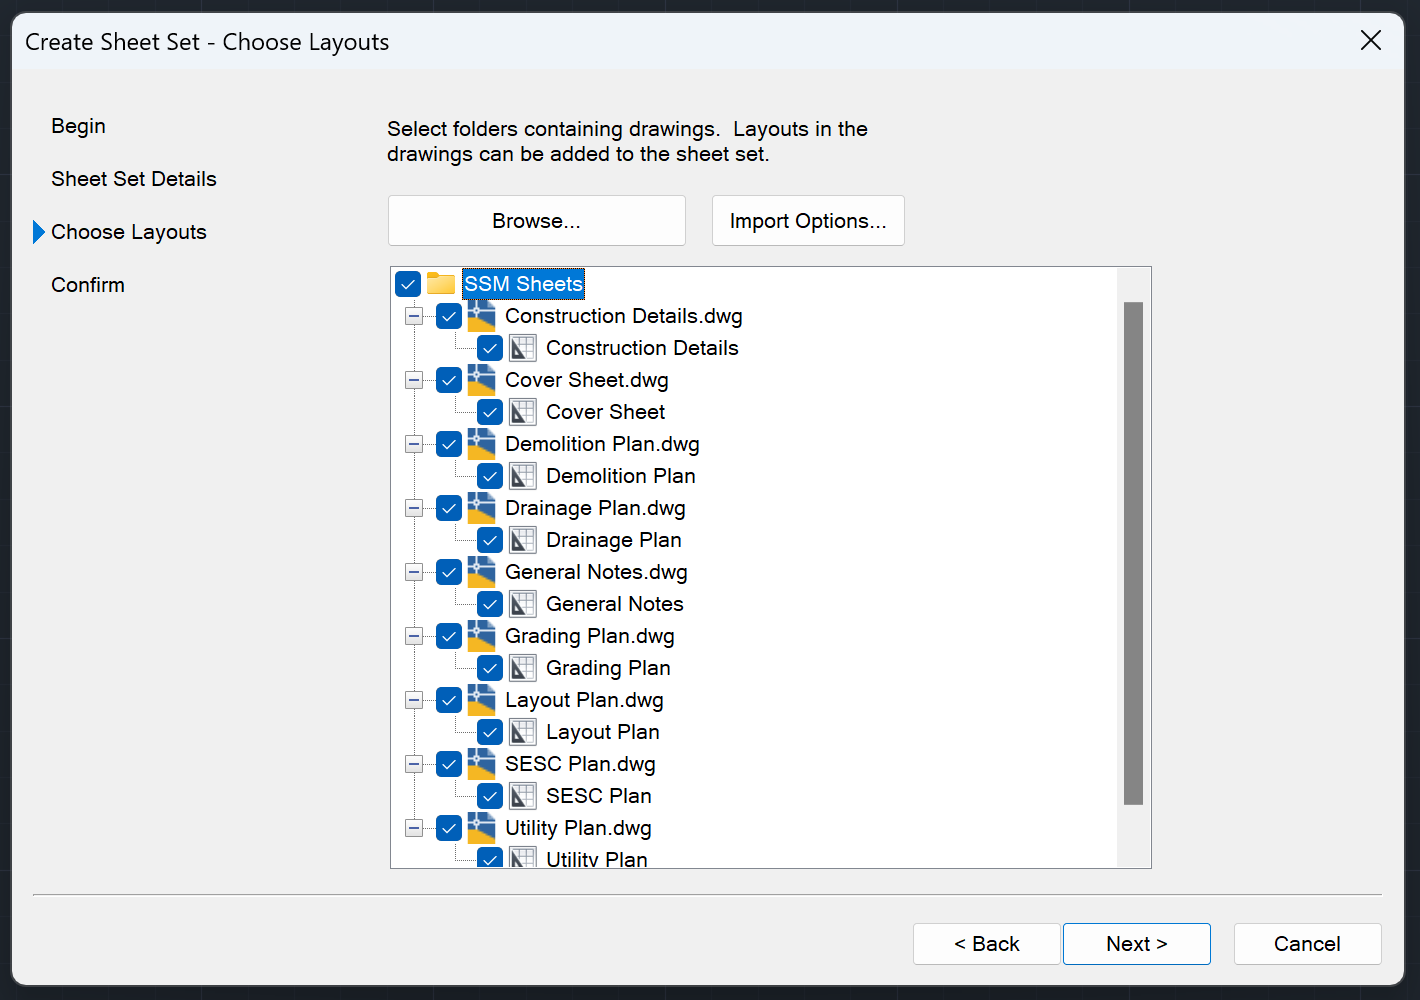
- Now you will browse the folder where all the drawings are saved. Hit Browse, and choose the folder. (Note: You also have the Import Options such as Prefix Sheet Titles with File Name and Create Subsets Based on Folder Structure).
- You can preview the Sheet Set details here, and hit finish to confirm. Sheet Set Manager is now created!


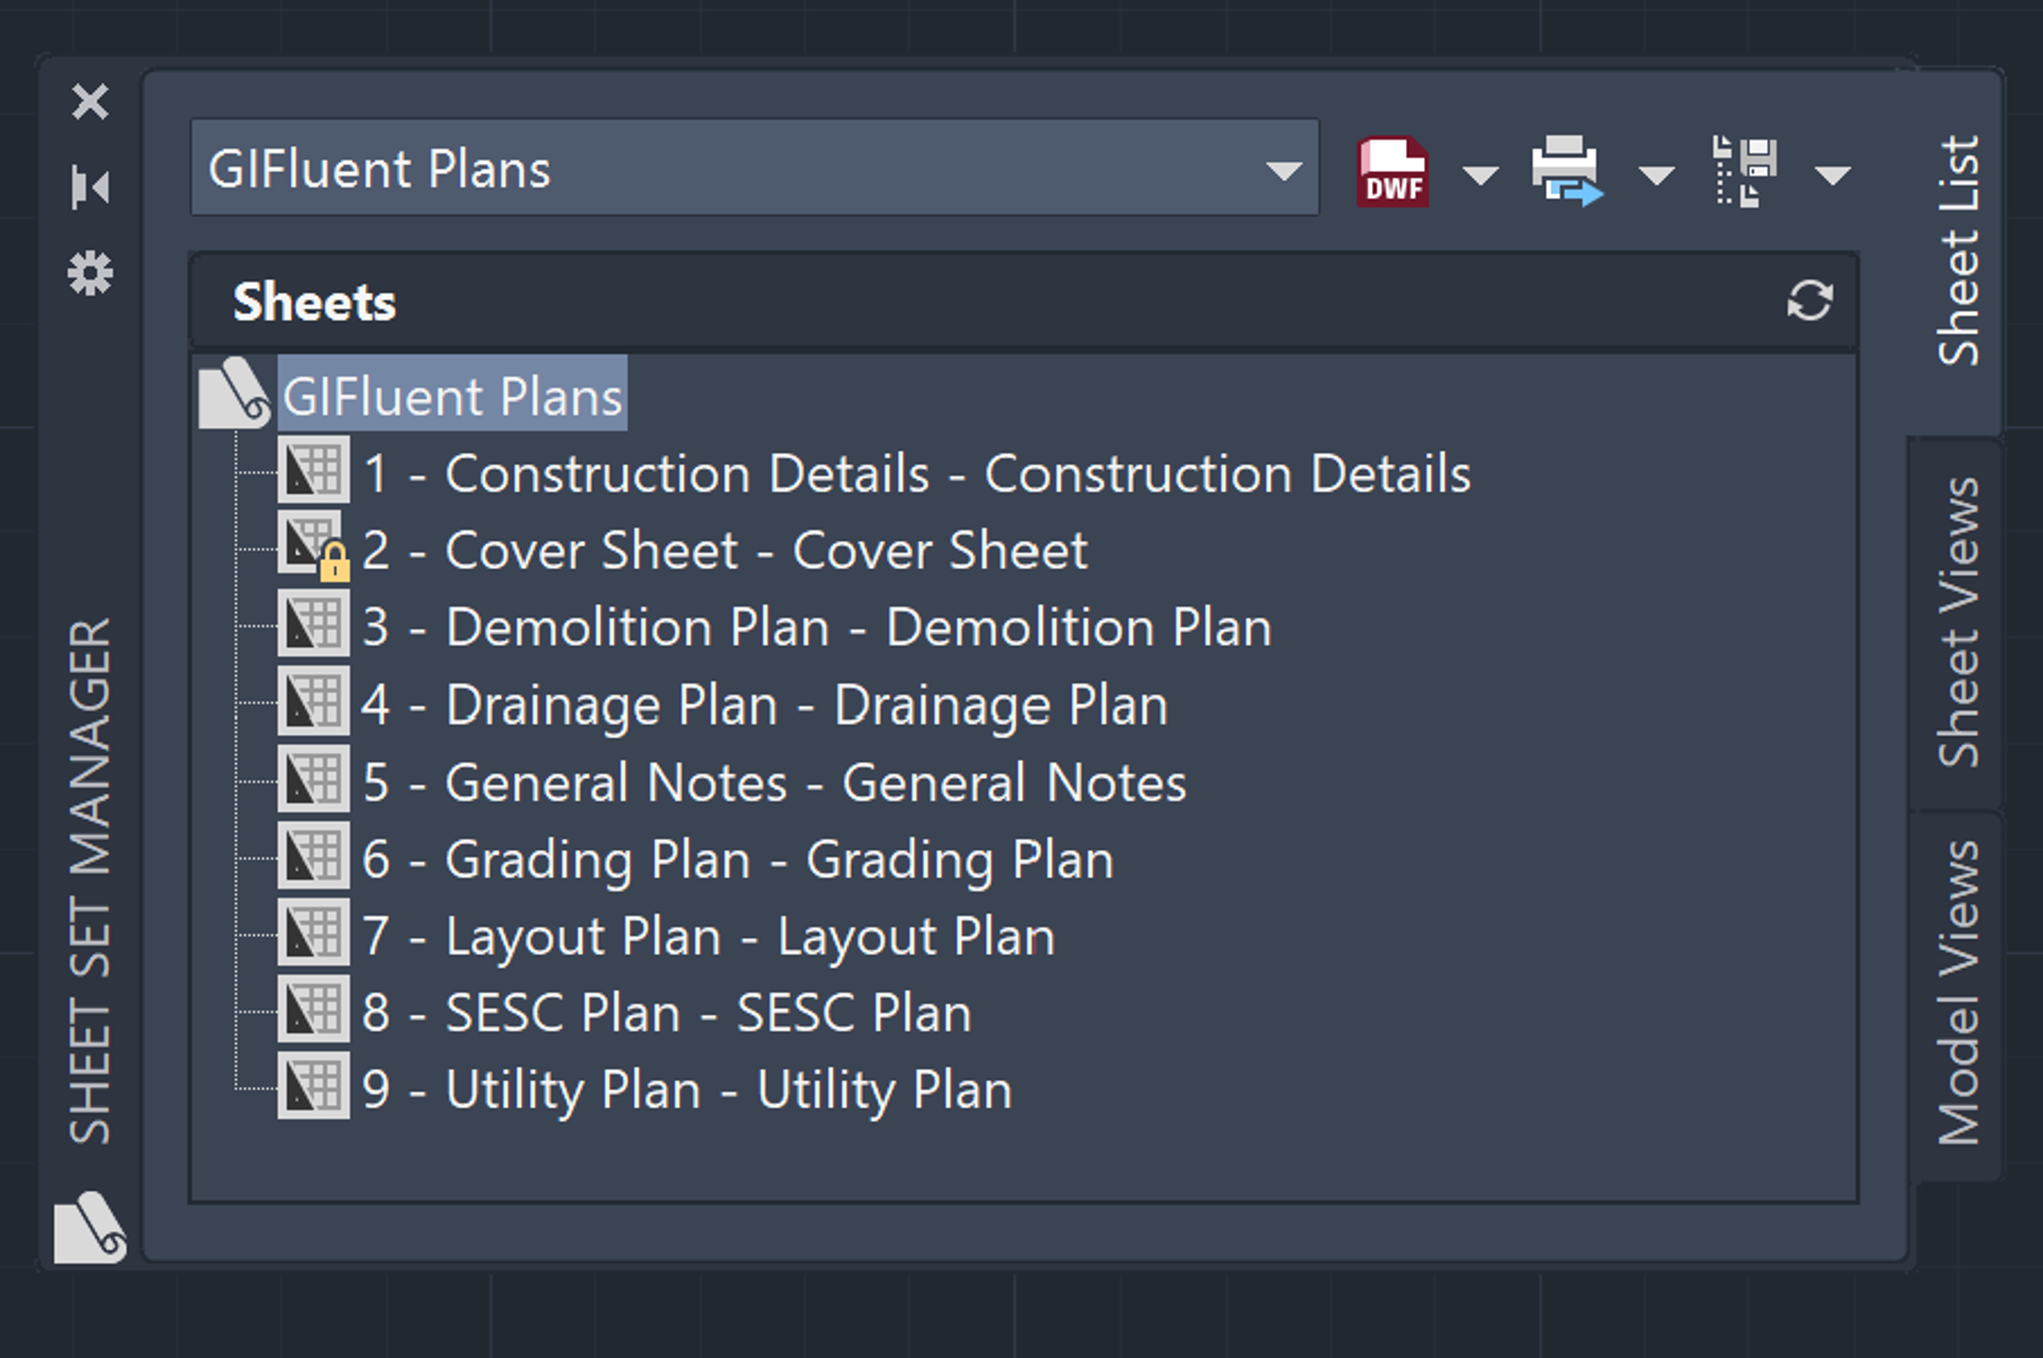
Managing and Editing an AutoCAD Sheet Set
Managing and Editing a Sheet is the core to handling Sheet Sets in AutoCAD. Below, we will look into 9 Frequently Asked Questions pertaining to managing and editing AutoCAD Sheet Set.
How to Open an Existing Sheet Set in AutoCAD Drawing File?
You can Open an Existing Sheet Set in AutoCAD by following the steps below:
- Type in SSM or SHEETSET in the command line. The AutoCAD Sheet Set Manager will open up.
- Click on the down arrow next to the Open option, and select Open option.
- Choose the Sheet Set (.dst file) from your computer and click open.
- If you had recently opened the Sheet Set, you can access it from the Recent option too.
How to Add New Sheet to AutoCAD Sheet Set?
You can add a New Sheet to the Sheet Set Manager by following the steps below:
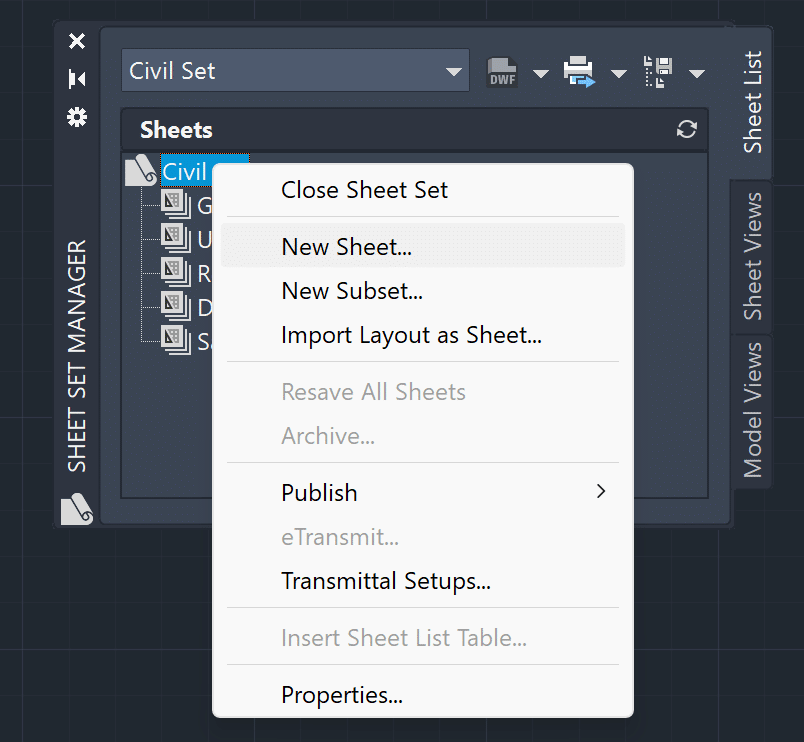
- Right-click on the Sheet Set to which you want to add a sheet and then click on New Sheet.
- New Sheet Dialog Box will open up. Add Number and Sheet Title, and Hit Ok.
- New Sheet will be added to the Sheet Set. In case the .dwt Template is not specified, you will need to choose the .dwt file before the New Sheet Dialog Box appears.
How to Add New Sheet Subset to AutoCAD Sheet Set?
You can Add New Subset to Sheet Set by following the steps below:
- Right-click on the Sheet Set to which you want to Add New Subset and then click on New Subset.
- The Subset Properties Dialog Box will open up. Add the Subset Name as you wish.
- There are few more options for customization:
- Create Folder Hierarchy (Yes/No)
- Publish Sheets in Subset (Yes/No)
- New Sheet Location – Choose Location for the File
- Sheet Creation Template – Choose Location for Sheet Template
- Prompt for Template (Yes/No)
How to Import Layout as Sheet in AutoCAD?
You can Import the Layout as a Sheet to the Sheet Set by following the steps below:
- Right-click on the Sheet Set to which you want to import the layout as a sheet and then click on Import Layout as Sheet.
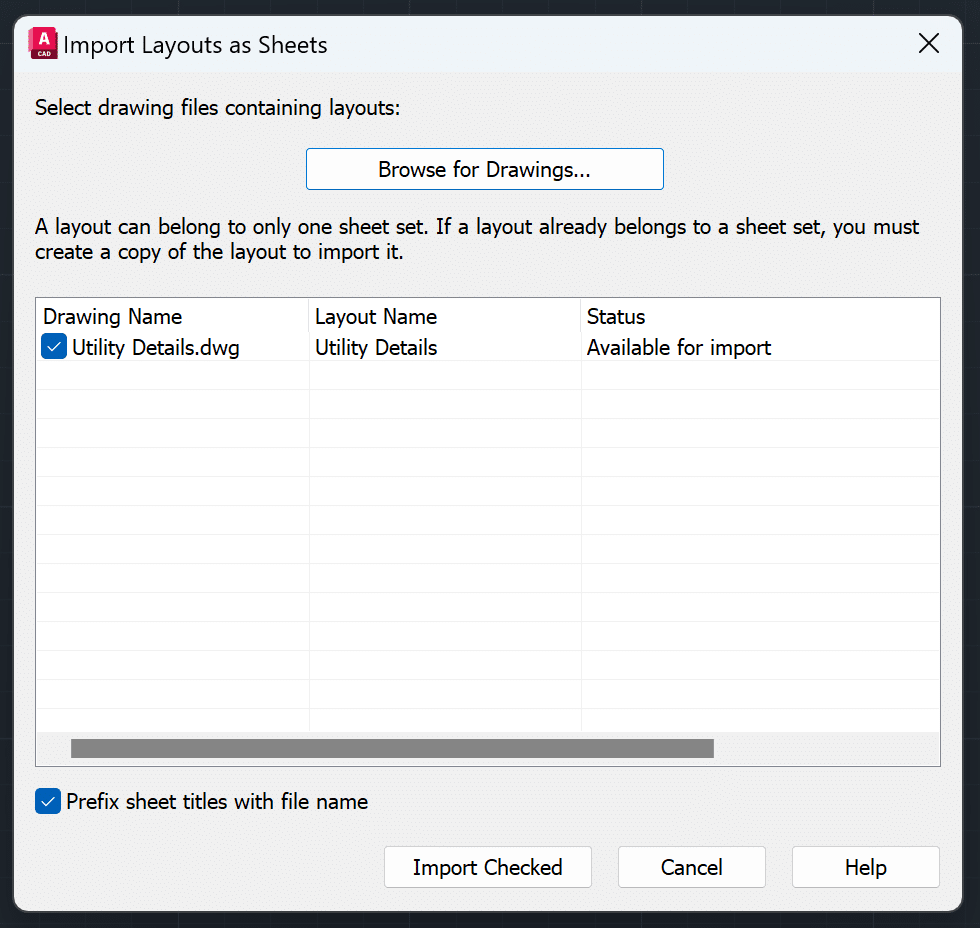
- Click on Browse for Drawings and select the Drawing File containing the layout you want on the sheet set.
- You will notice all the layouts for that sheet are loaded. Check on the Layouts you wish to import and then click on Import Checked. The sheet will be added to the Sheet Set.
- You can add multiple drawing files using this method.
How to Insert Sheet List Table in AutoCAD?
To Insert a Sheet List Table, you must be in the Paper Space, and the Layout where you are putting the Sheet List should be part of the Sheet Set.
You can Insert Sheet List Table to desired Layout Tab by following the steps below:
- Right-click on the Sheet Set whose Sheet List you want to create.
- Choose the Insert Sheet List Table option.
- Sheet List Table Dialog Box will open up. You can choose Table Styles, Show Subheader, Table Title, Column Setting, and Sheet Selection.
How to Rename and Renumber Sheets in AutoCAD?
It is possible to Rename and Renumber sheets in a Sheet Set. Simply follow the steps below:
- Right-click on the Sheet whose name you wish to change and then select Rename and Renumber.
- The Rename and Renumber Sheet Dialog Box will open up. You can change the following things in this Dialog Box:
- Number
- Sheet Title
- Layout Name
- File Name
- Rename Layout to Match Sheet Title (or Prefix with Sheet Number)
- Rename Drawing File to Match Sheet Title (or Prefix with Sheet Number)
- If you want to rename and renumber more sheets, click on Next and Previous. Once done, hit OK.
How to add Properties to AutoCAD Sheet Set?
Follow the steps below to add Properties to AutoCAD Sheet Set:
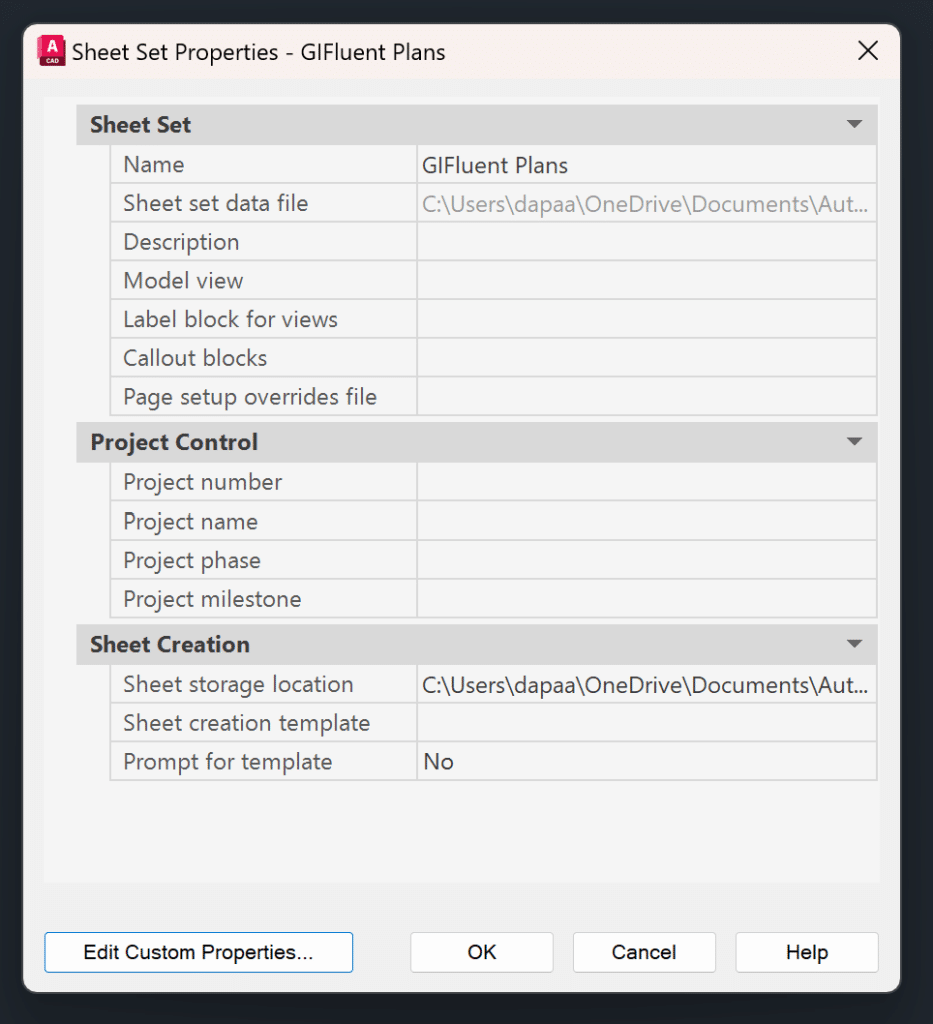
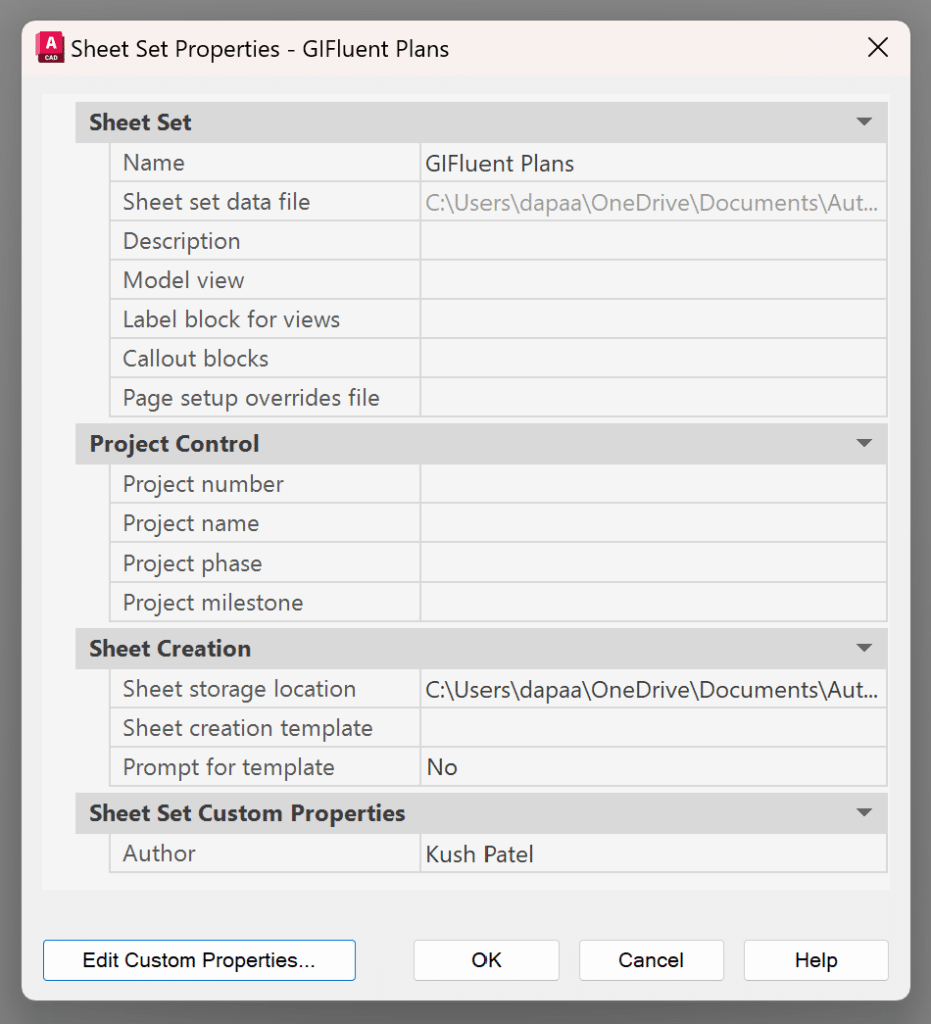
- Right-click on the Sheet Set whose properties you wish to edit, then choose Properties option.
- The Sheet Set Properties Dialog Box will open. Here, you can add properties for Sheet Set, Project Control, and Sheet Creation.
- You can also add more properties by clicking on Edit Custom Properties and following the prompts.
How to Close Sheet Set in AutoCAD?
You can Close a Sheet Set by following the steps below:
- Right-click on the Sheet Set that you wish to close.
- Click on the Close Sheet Set option.
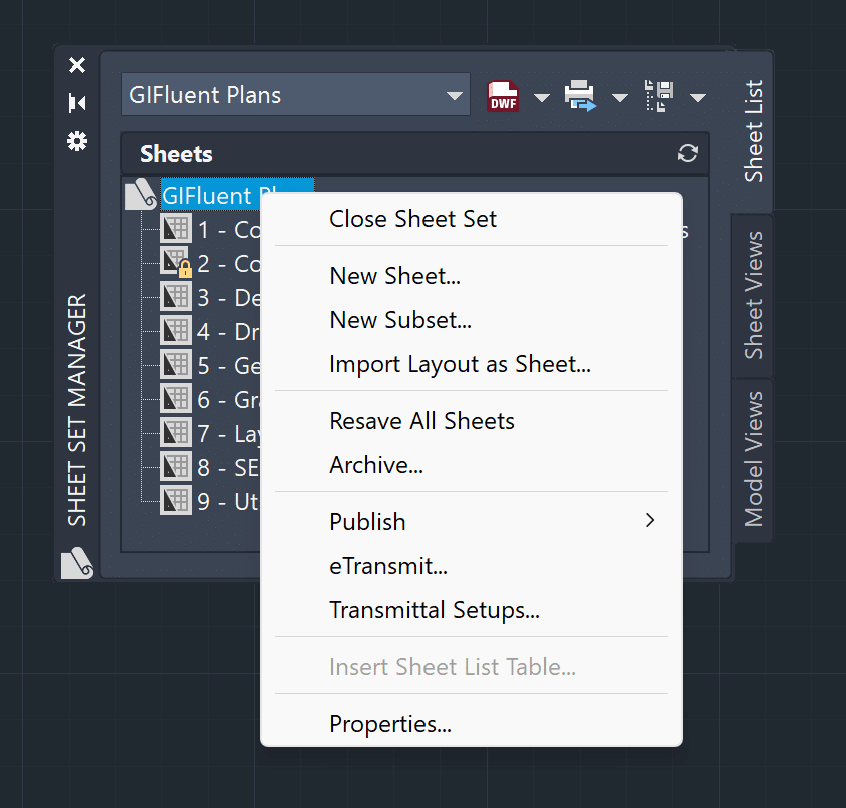
What are other commonly used features of AutoCAD Sheet Sets?
Some of the other features of AutoCAD Sheet Sets are as follows:
- Resave All Sheets
- Archive
- Publish
- eTransmit
- Transmittal Setup

All About AutoCAD Fields
AutoCAD Fields are dynamic text elements that update based on drawing properties or object data. Unlike static text, Fields maintain a live link to their source data so the information is always current and can easily be updated. As an Engineer, I use fields to display critical information such as file paths, drawing names, sheet numbers, dates, area calculations, and object properties that would otherwise have to be updated manually. You can even integrate fields in AutoCAD Tables.
When you use Fields with Sheet Set Manager, your project information can automatically appear on all your drawings at once. This smart text means you don’t have to type the same information over and over on each drawing. It helps prevent mistakes and keeps all your drawings looking the same.


How to Add Custom Properties to Sheet Set and Insert Field for it?
We looked into earlier how to update the Properties of a sheet set and briefly looked into how to create Custom Properties. So first lets look into how to add Custom Properties and then how to add a field connected to that Custom Property.
- Right-click on the Sheet Set whose properties you wish to edit, then choose the Properties option.
- The Sheet Set Properties Dialog Box will open. Click on the Edit Custom Properties.
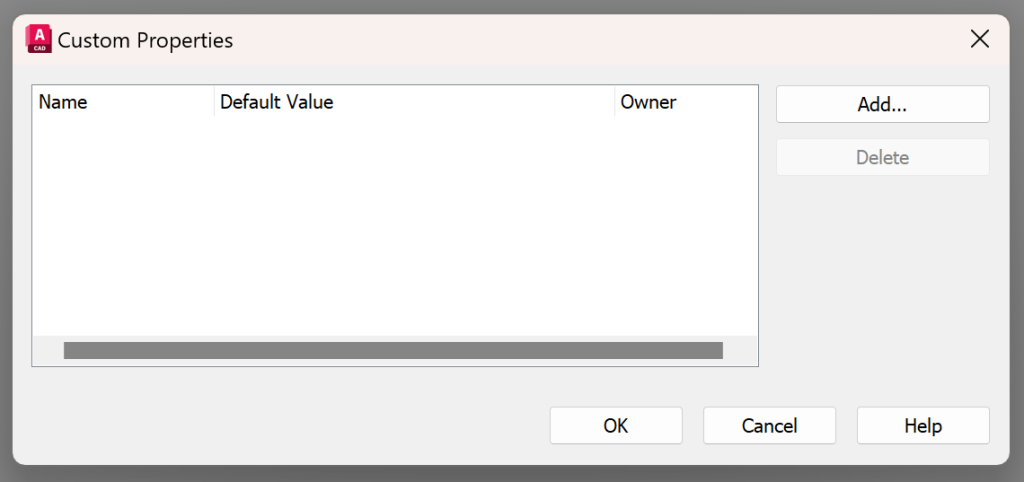
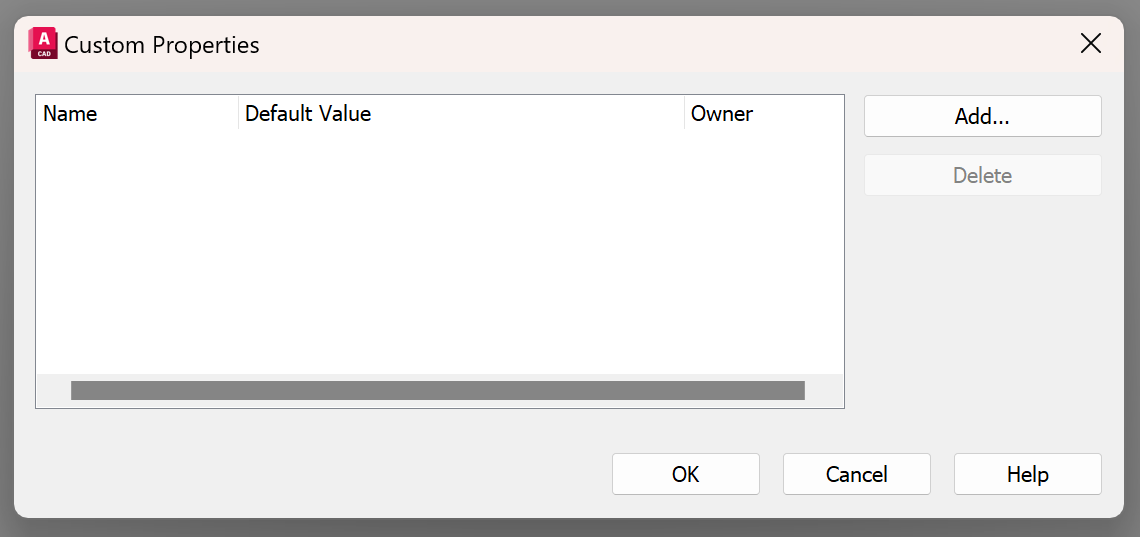
- The Custom Properties Dialog Box will open up. Click on the Add button.
- Add Custom Property Dialog Box will open up.
- Type in the name of the Property and the default value of the Property.


Once you do that you will have the property in the Sheet Set Custom Properties. Next, you would want to bring the property as a Field on the Sheet Set. You can do that by following the steps below:
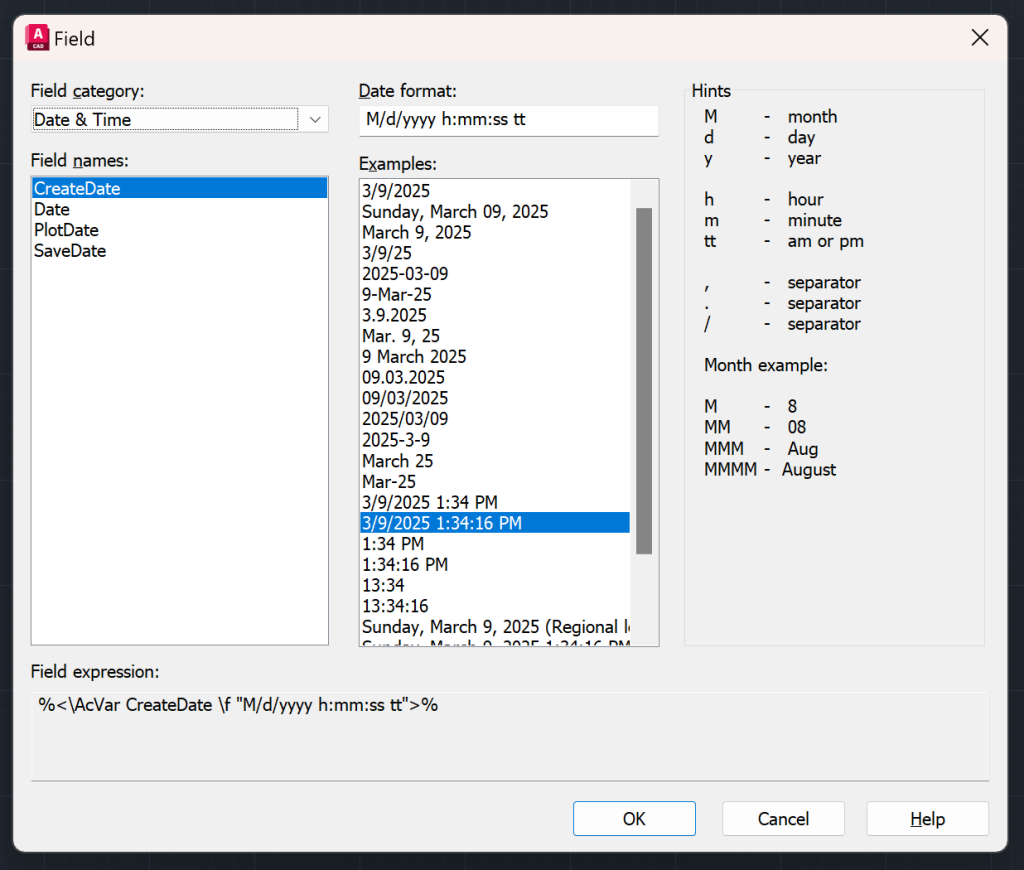
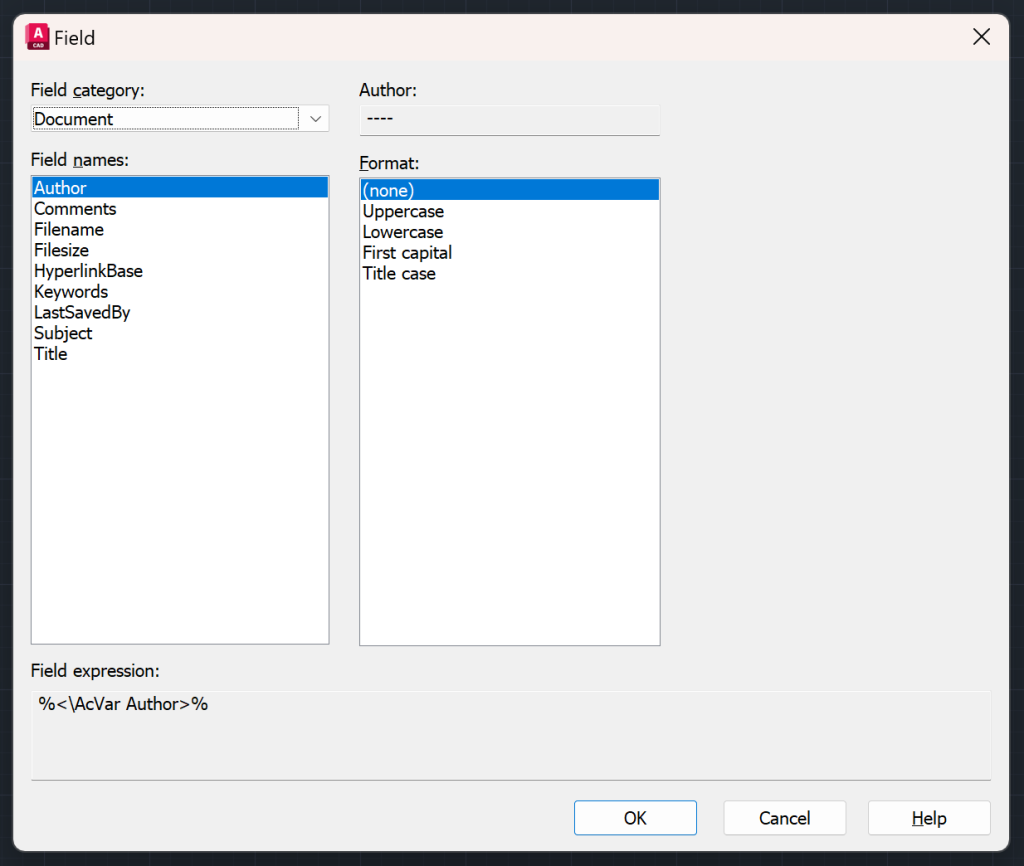
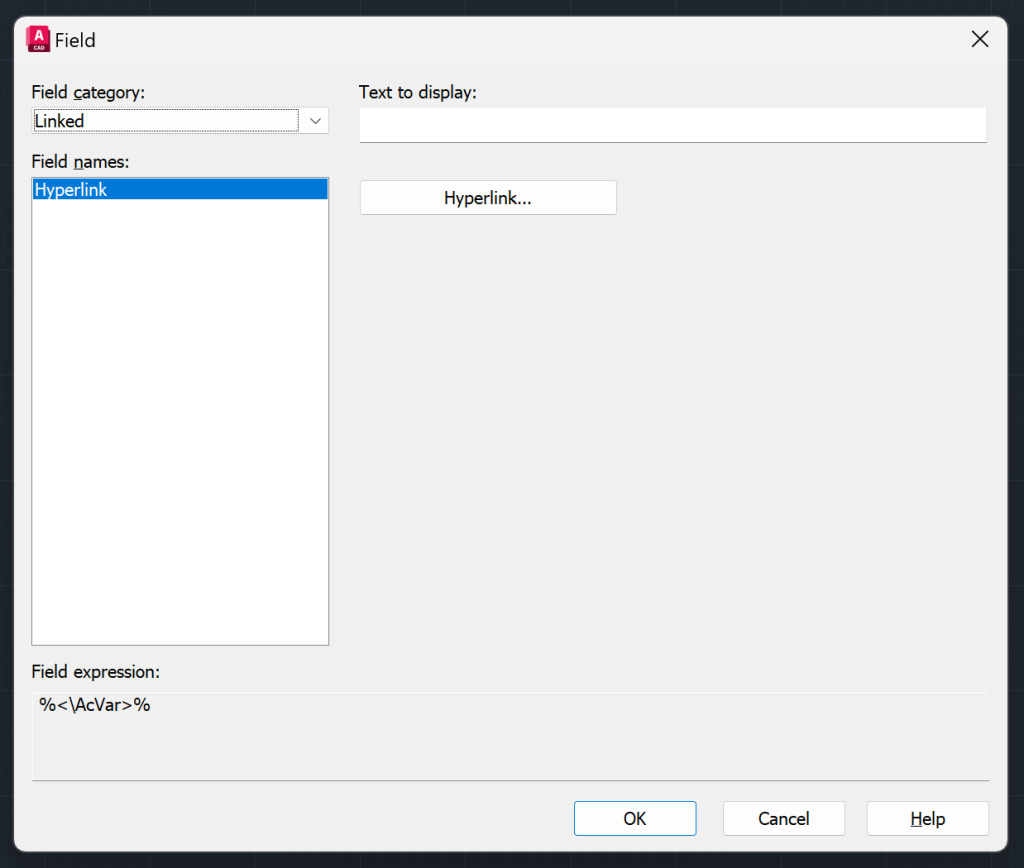
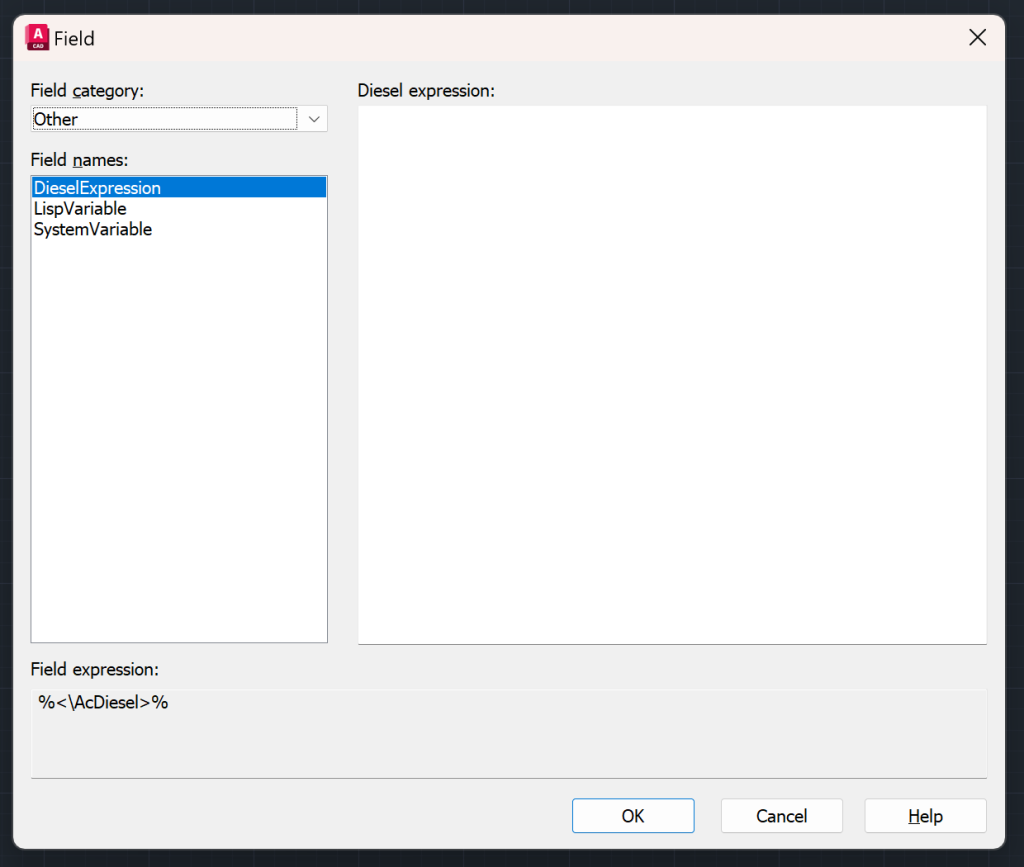
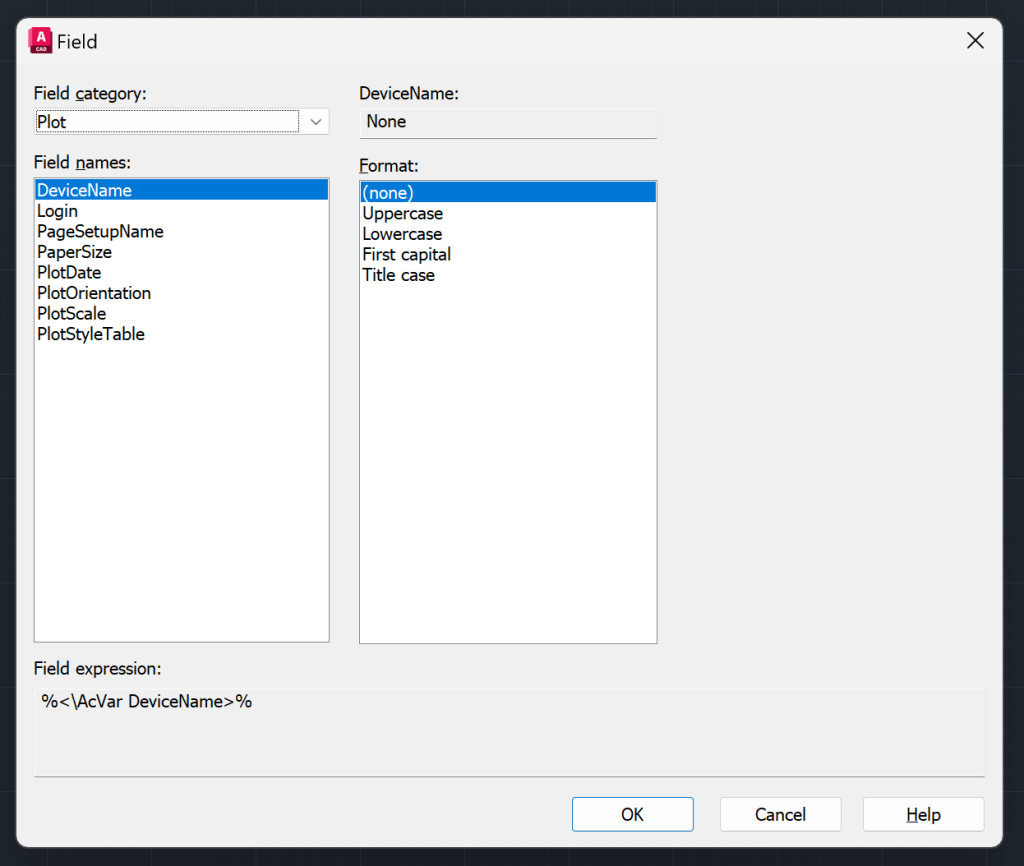
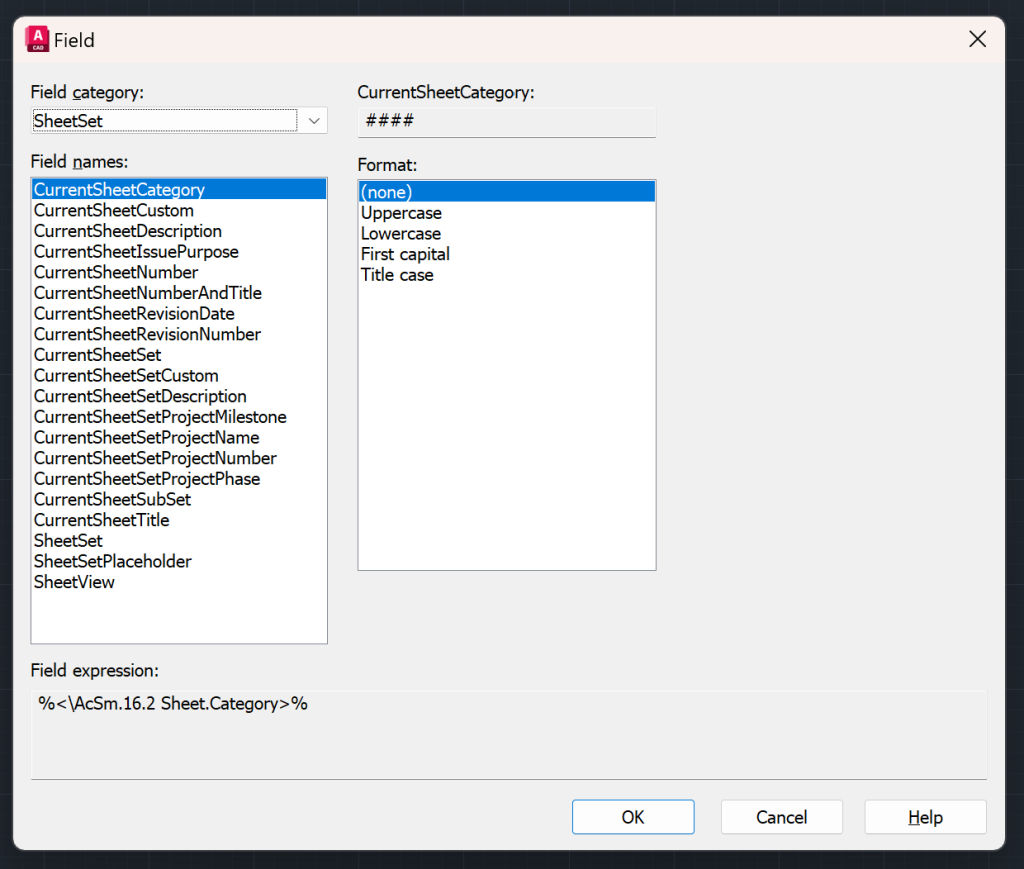
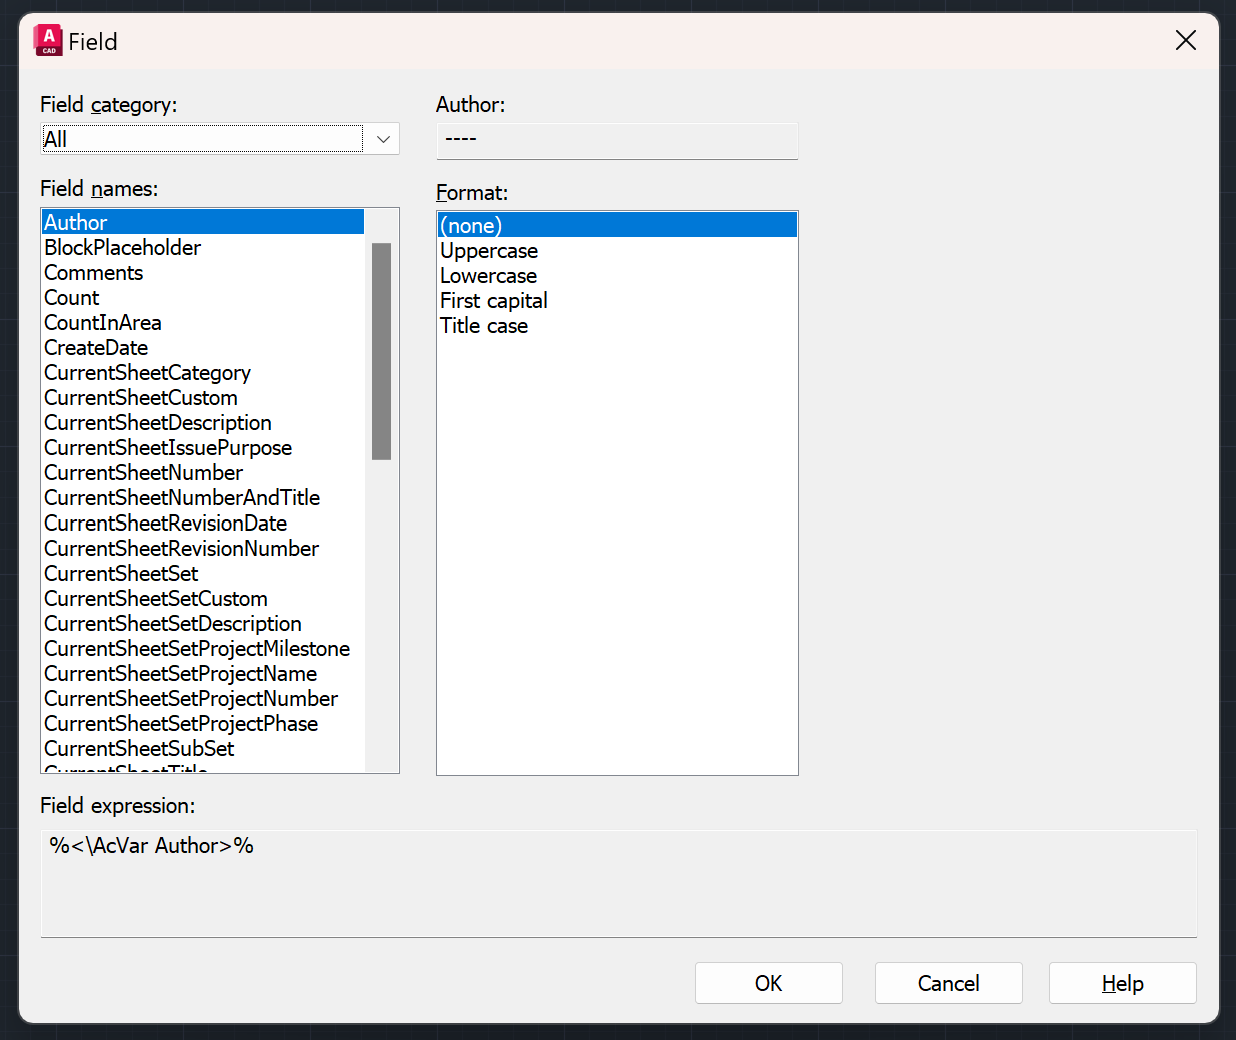
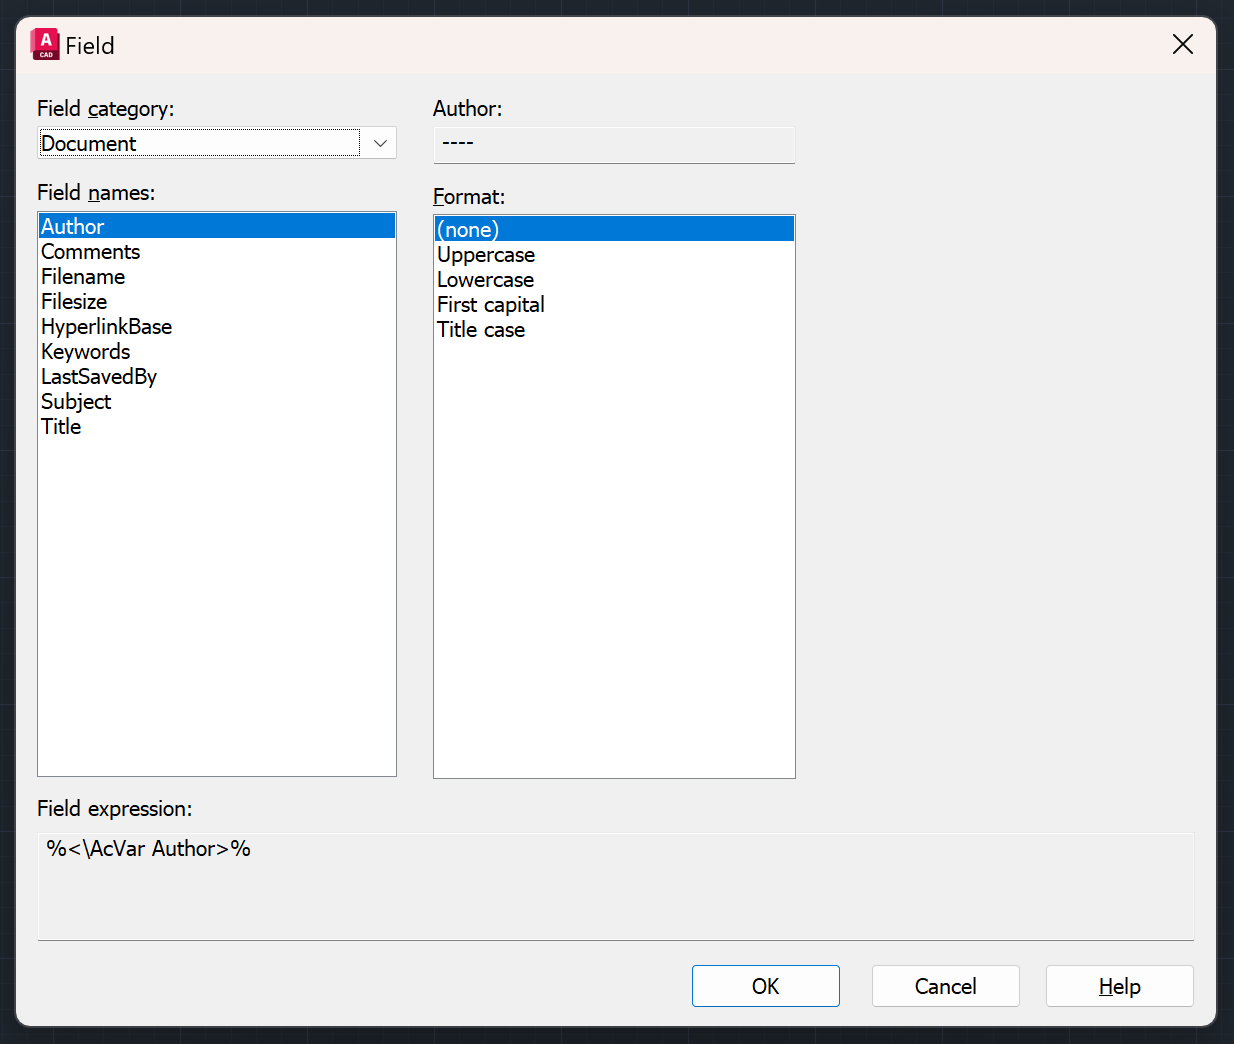
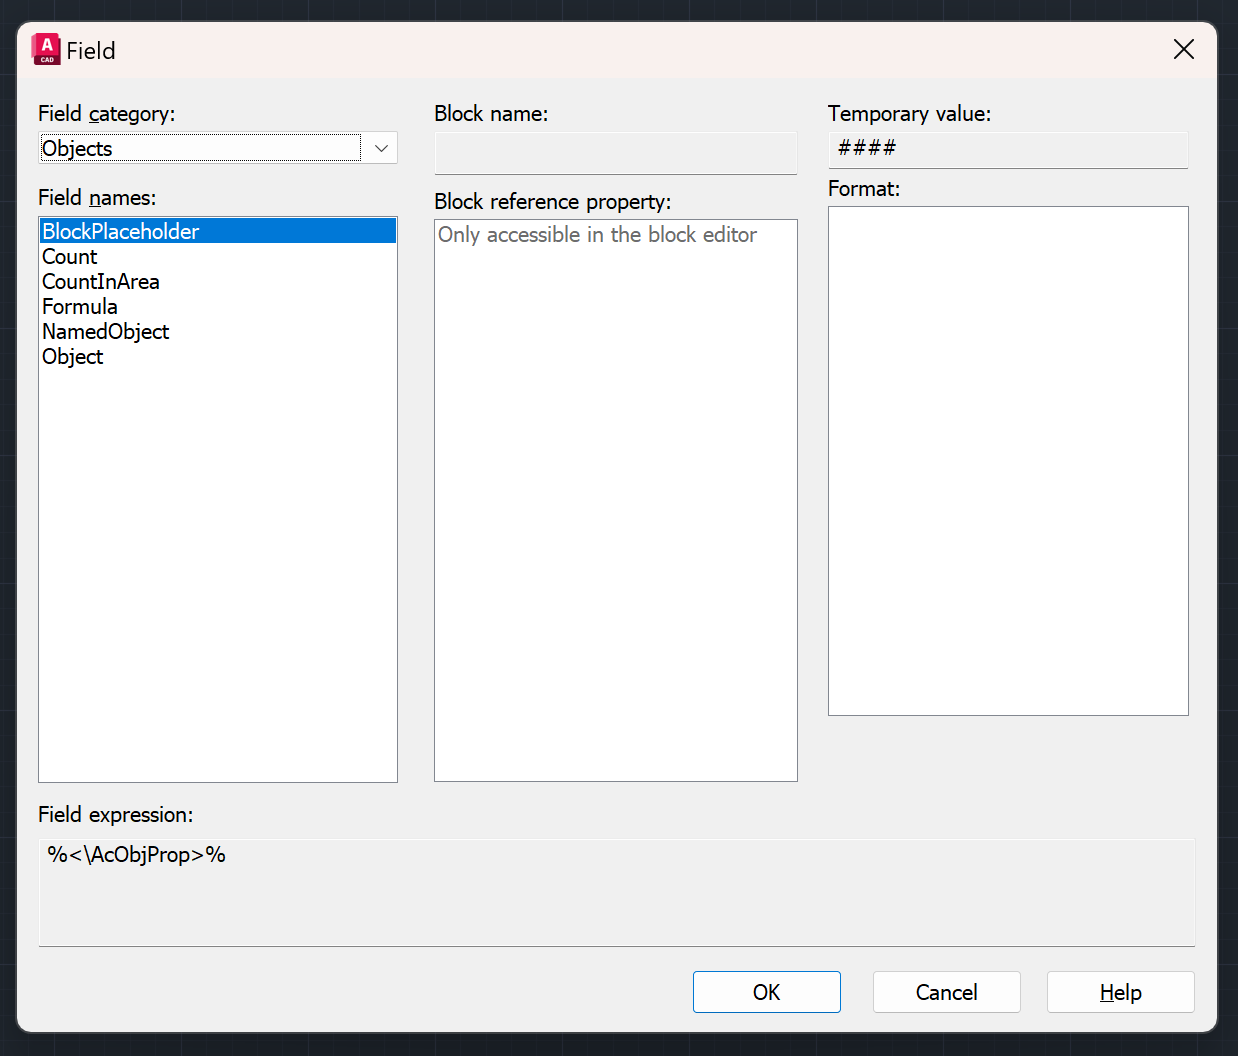
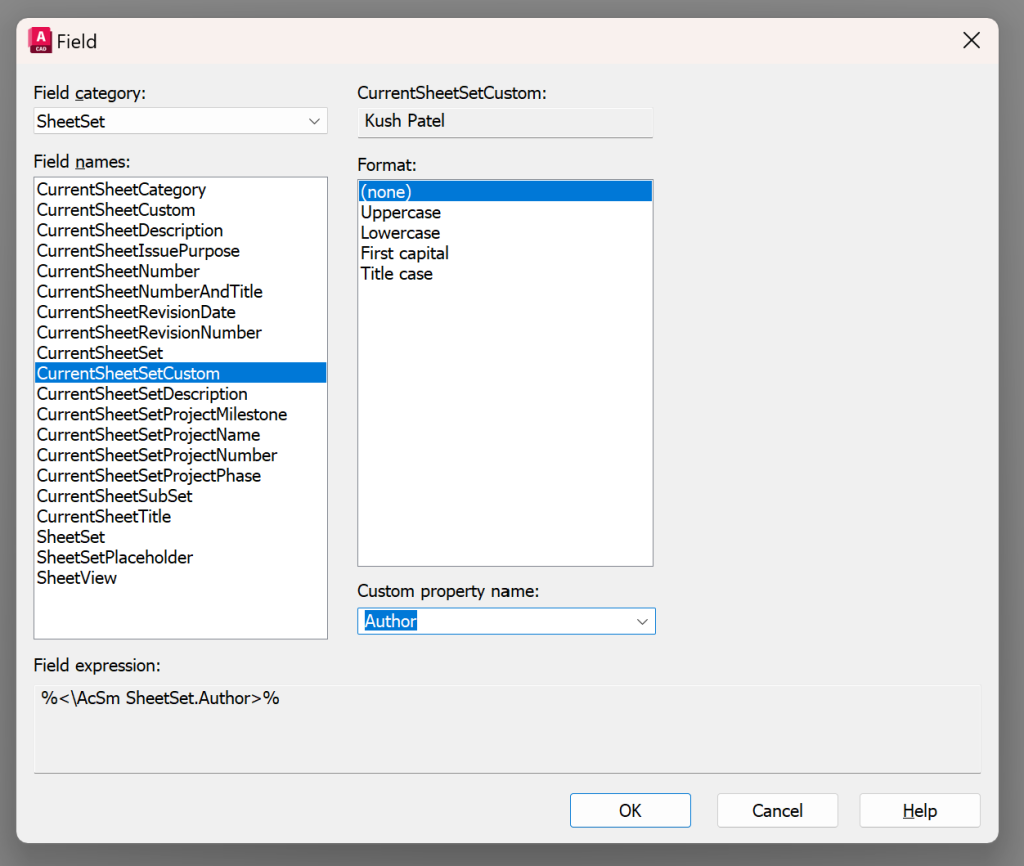
- Type in the FIELD in the command line and the Field Dialog Box will open up.
- Choose Sheet Set in the Field Category and Current Sheet Set Custom in the Field Names.
- The Custom Property will show up under the Custom Property Name. Choose the custom property you wish to add, and then click ok.
- Now place the field where you want.
Note: If you update the Custom Field Content in the Sheet Set Manager, you can update the Field by UPDATEFIELD or REGEN command.
Why should you Add Fields to the Title block?
If you have a Civil Site Plan that consists of 21 sheets and you need to add one more sheet in the middle of the set, you’ll have to update both the sheet numbers and the total number of sheets. If this information is included as TEXT or MTEXT in the title blocks, you will need to update multiple sheets.
Thanks to Sheet Set Manager and Fields, you can update the information in the Sheet Set, and the Fields will automatically update the information.
Hope you were able to get a good grasp on AutoCAD Sheet Set and AutoCAD Fields. Checkout my blog 25 Foundational Concepts of AutoCAD to learn other features of AutoCAD.


Leave a Reply